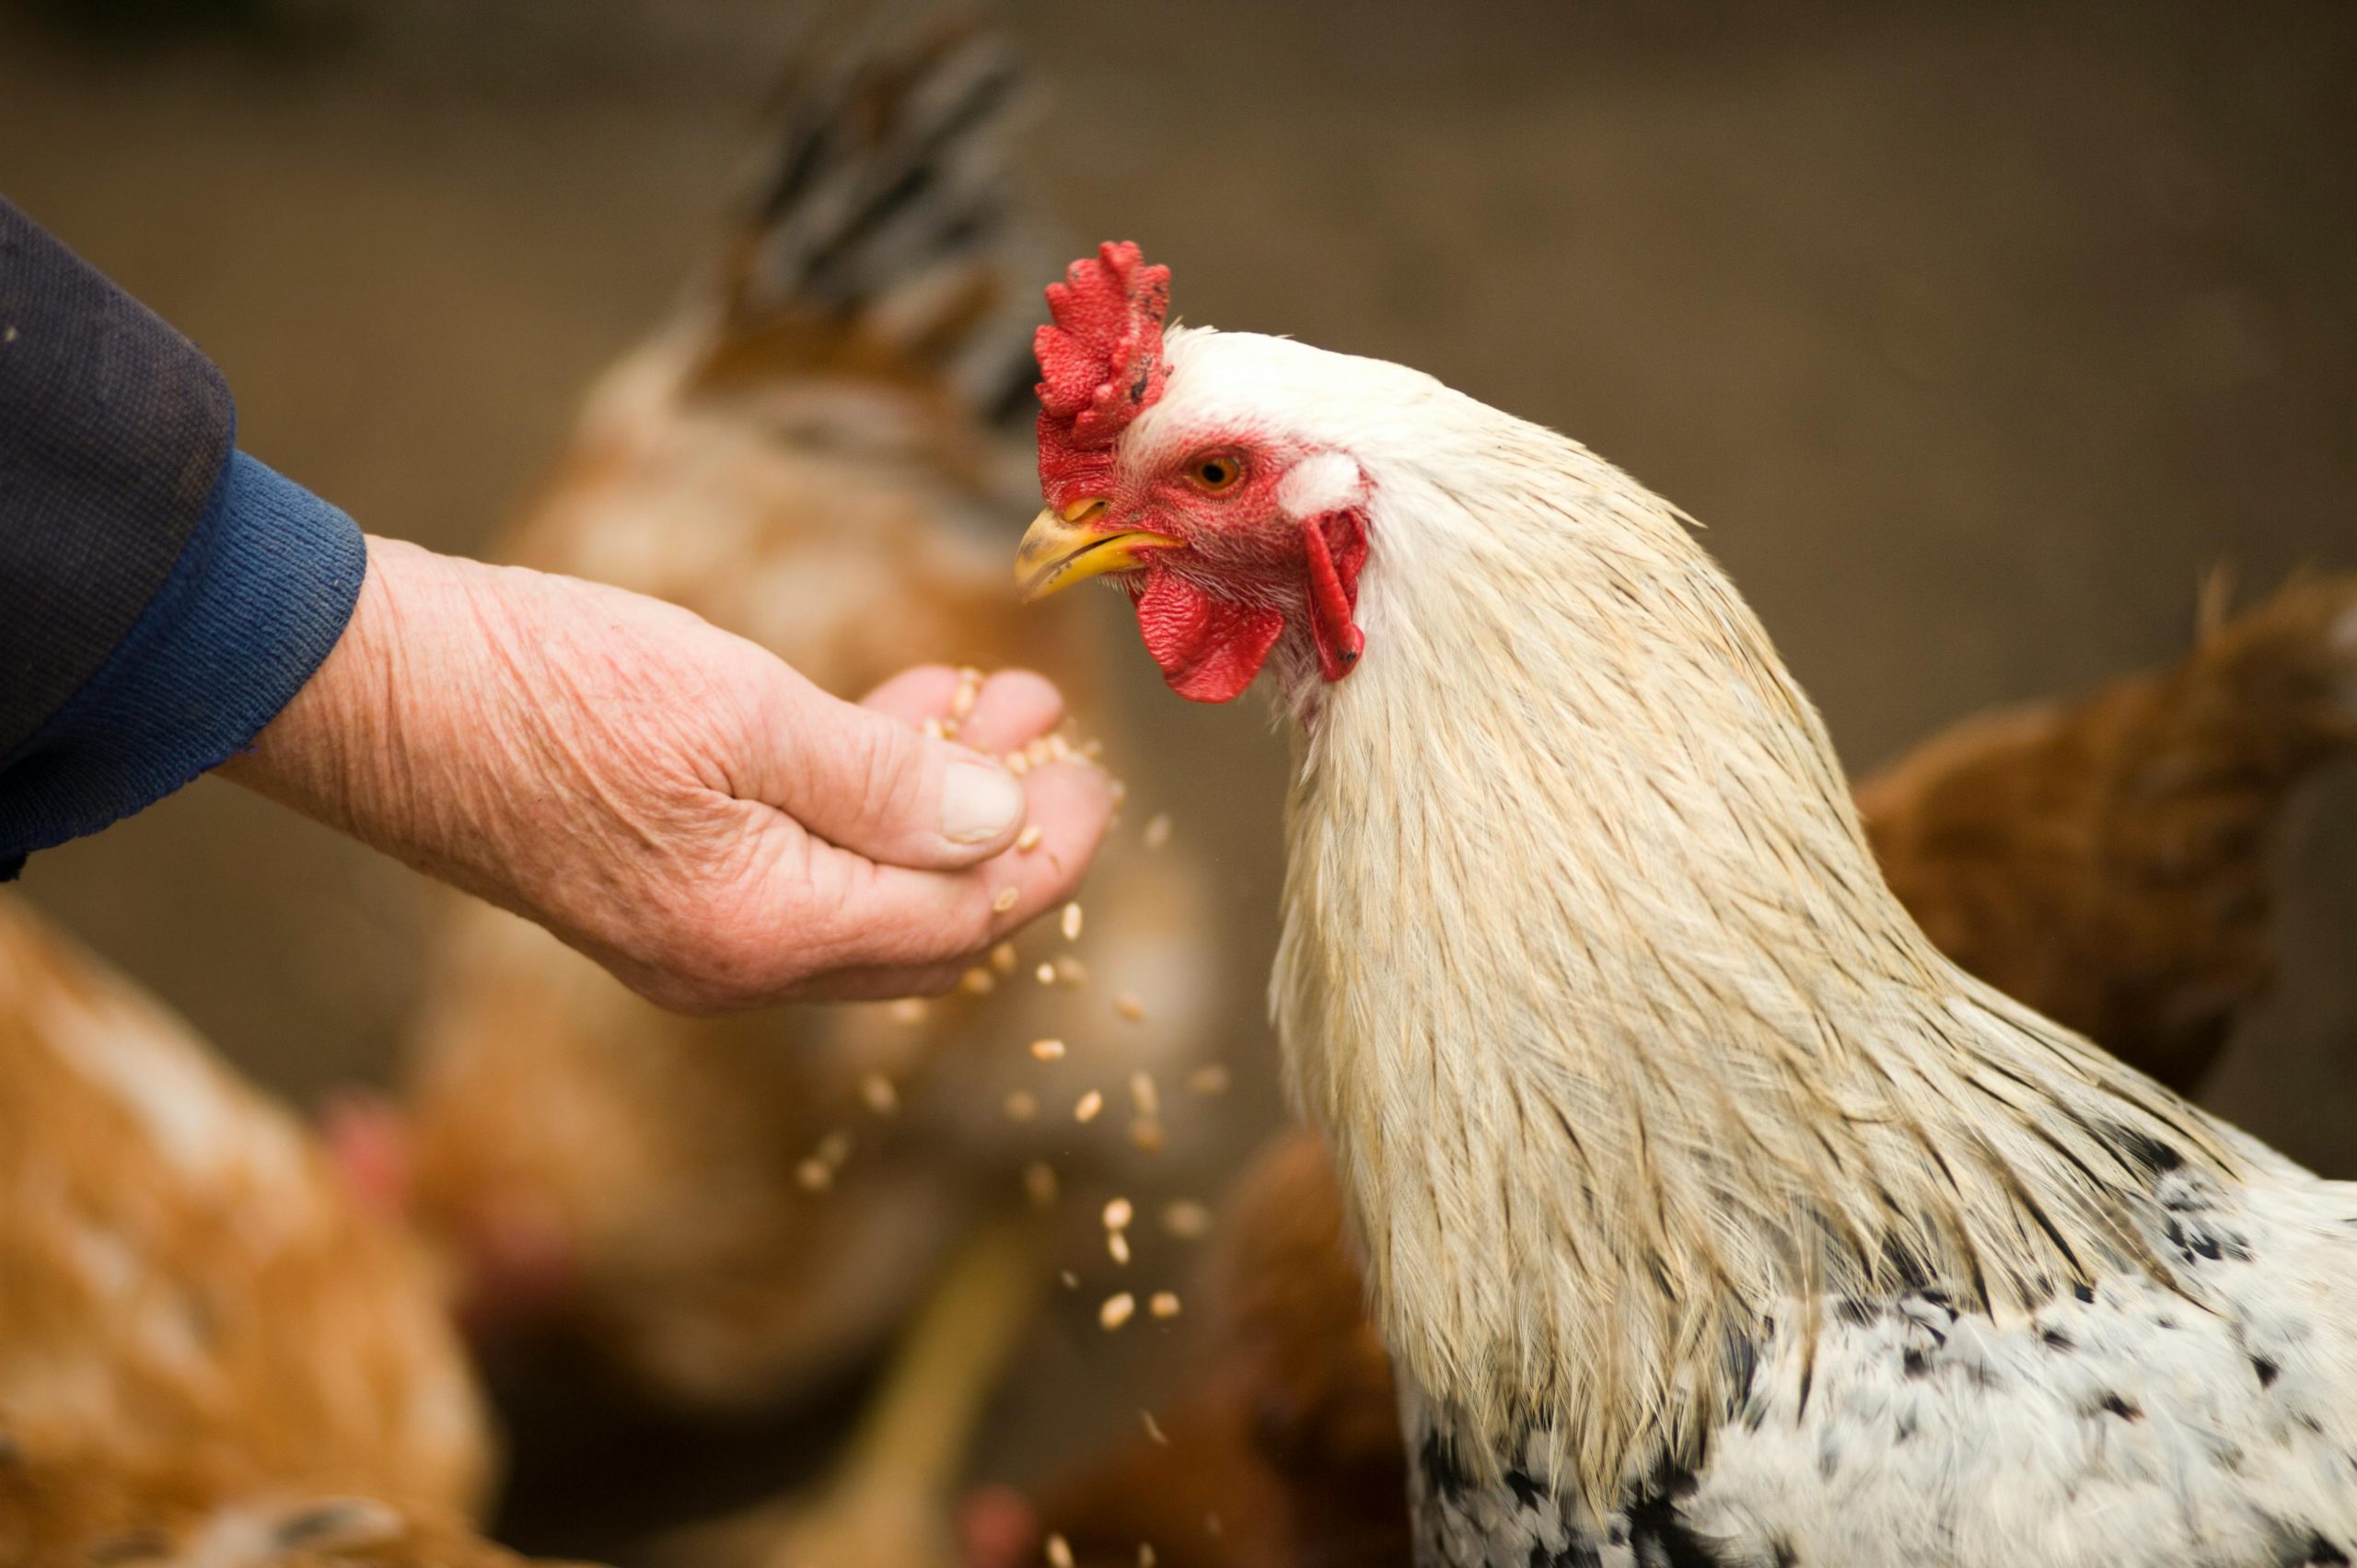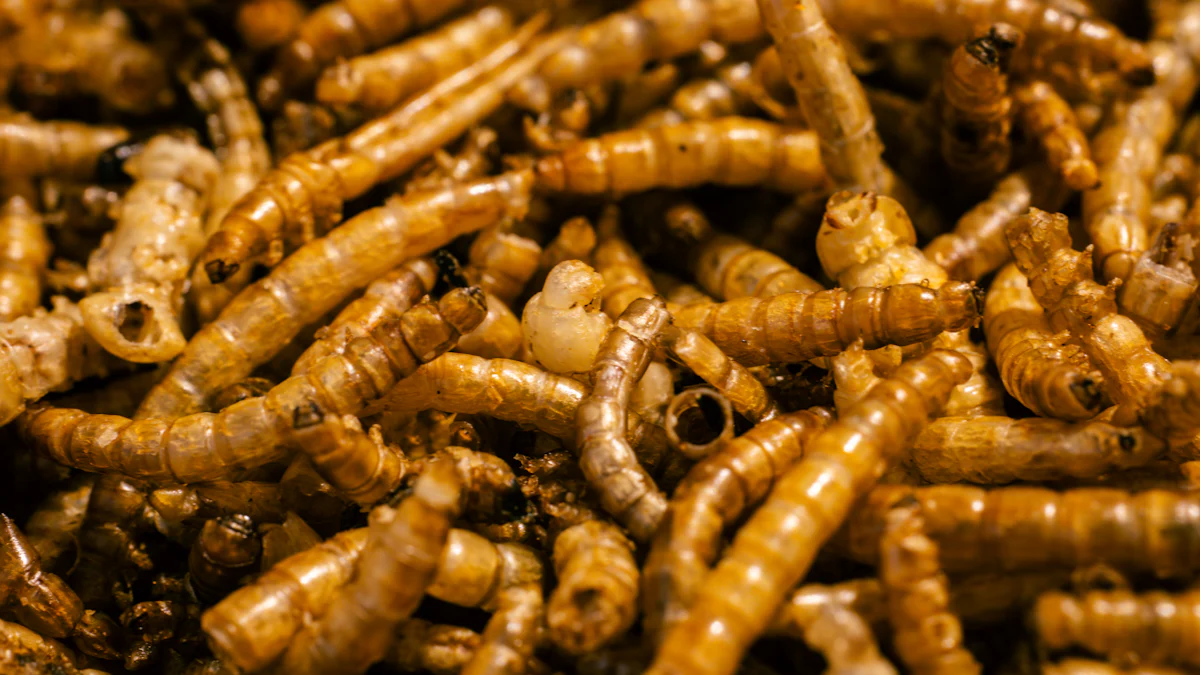
Mealworms are a powerhouse of nutrition for your chickens. They’re packed with protein, fats, and fiber, ensuring a balanced diet. Plus, they’re loaded with essential vitamins and minerals. Feeding mealworms promotes natural foraging, boosts immunity, and enhances egg quality. Growing mealworms for chickens also saves money and reduces environmental impact. 🐓🌱
Key Takeaways
- Mealworms are healthy food for chickens, full of protein and vitamins. Feeding them helps chickens stay healthy and lay better eggs.
- To grow mealworms, you need a deep box, bedding, and veggies. Taking good care of them helps them grow well.
- Clean often and check moisture to keep mealworms healthy. This gives your chickens a steady supply of tasty snacks.
Supplies Needed to Grow Mealworms for Chickens
Starting your mealworm colony doesn’t require a lot of fancy equipment, but having the right supplies makes the process smoother. Here’s what you’ll need to get started.
Choosing the Right Container
The container you choose plays a big role in keeping your mealworms safe and thriving. Look for deep containers with smooth sides to prevent the worms from escaping. A depth of 6-10 inches works well, and a larger surface area helps with airflow and heat dissipation. Food-grade plastic, glass, or stainless steel containers are great options. If the container has a lid, drill small holes or use a mesh cover to ensure proper ventilation. Keep the container in a warm spot, ideally around 70°F, to encourage growth.
Bedding and Food Sources for Mealworms
Mealworms need bedding that doubles as food. Fine particles like wheat bran, cornmeal, or chick starter are excellent choices. Rolled oats are another great option and make sifting out waste easier. For moisture, add slices of apples, potatoes, or carrots. These not only hydrate the worms but also provide extra nutrients. You can also sprinkle in supplements like wheat germ or dry brewer’s yeast to boost their diet. Remember, a well-fed colony grows faster and stays healthier.
Optional Tools for Monitoring and Maintenance
While not essential, a few tools can make managing your colony easier. A dedicated strainer helps separate mealworms from their bedding during cleaning. CO2 sensors can monitor air quality, ensuring your worms don’t suffocate. If you live in a dry area, a humidity control system can maintain the ideal 50%-70% humidity level. These tools help you keep your colony in top shape with minimal effort.
By gathering these supplies, you’ll set yourself up for success in growing mealworms for chickens. It’s a simple and rewarding process that benefits both you and your flock.
Step-by-Step Guide to Growing Mealworms for Chickens
Setting Up the Container and Bedding
Getting your container ready is the first step to starting a successful mealworm colony. Follow these steps to set it up:
- Choose a large, shallow container made of plastic or glass. It should have smooth sides to prevent mealworms from escaping.
- Add 2-3 inches of bedding, such as wheat bran or rolled oats. This will serve as both their home and food source.
- Place slices of fresh vegetables like potatoes, carrots, or apples on top of the bedding. These provide moisture and extra nutrients.
- Ensure proper ventilation by drilling small holes in the lid or using a mesh cover.
- Keep the container in a warm spot, ideally around 80°F, to encourage growth.
To avoid pests, always keep the container covered. Monitor moisture levels carefully to prevent mold, which can harm your colony.
Introducing Mealworms to the Colony
Once your container is ready, it’s time to introduce the mealworms. Start by gently placing live mealworms into the bedding. Spread them out evenly so they have enough space to move and grow. Add hiding spots like small pieces of egg cartons to make them feel secure.
Check the temperature and humidity levels regularly. Mealworms thrive in warm, humid conditions, so aim for 70% humidity. Replace the vegetable slices every few days to keep the environment fresh and mold-free.
Feeding and Watering Mealworms
Mealworms need a balanced diet to grow quickly and stay healthy. Feed them about ½ cup of fresh vegetables every 2-3 days. Potatoes, carrots, and apples are excellent choices. For extra nutrition, sprinkle in Mealworm Chow, which contains 16% protein and added calcium.
Avoid using water dishes, as mealworms can drown. Instead, use a gel water source or a moist sponge to provide hydration. Spread the food evenly across the container so all the mealworms can access it.
Maintaining Cleanliness and Preventing Mold
A clean container is essential for a thriving colony. Every two weeks, sift through the bedding to remove waste, dead mealworms, and old food. Replace the bedding if it becomes too damp or dirty.
To prevent mold, manage moisture levels carefully. Avoid overfeeding or using overly watery fruits. If you notice any mold, remove it immediately and adjust the humidity. Regular cleaning and monitoring will keep your mealworms healthy and your chickens happy.
Managing the Mealworm Life Cycle
Understanding the Four Stages of Development
Mealworms go through four distinct stages: egg, larva, pupa, and beetle. Each stage plays a critical role in maintaining your colony. Here’s a quick breakdown:
| Stage | Description | Impact on Colony Management |
|---|---|---|
| Egg | Darkling beetles mate and lay eggs. | Requires monitoring to ensure eggs are not disturbed. |
| Mealworm | The larvae stage lasts about 4-6 weeks. | Needs proper feeding and space to grow. |
| Pupa | This stage lasts around 1-3 weeks before maturing into a beetle. | Must be separated from larvae to prevent predation. |
| Beetle | Adult beetles reproduce and lay eggs until they die. | Essential for sustaining the colony and managing population. |
The entire life cycle takes about three months, depending on temperature. Warmer conditions speed up the process, so aim for 75-80°F to keep things moving smoothly.
Separating Mealworms, Pupae, and Beetles
Keeping your colony organized is key to success. Beetles can eat newly hatched larvae, so you’ll need to separate them. Here’s how you can do it:
- Use apple slices to attract beetles, then transfer them to a new container.
- Set up two containers: one for beetles and another for eggs and larvae.
- Shake out bran from the beetle container into the egg container every few days.
- Hand-pick pupae and move them to a separate space to mature into beetles.
- Once beetles emerge, transfer them back to the breeding container.
You can also sift mealworms using a mesh strainer or encourage them to crawl out of the bedding by placing an egg carton in a bright spot.
Encouraging Breeding for a Sustainable Colony
To keep your colony thriving, you’ll need to create the perfect environment for breeding. Start with at least 150 live mealworms, but 500 or more will give you faster results. Follow these tips:
- Use a large, shallow container with smooth sides to prevent escapes.
- Add a 4-inch layer of bedding like wheat bran or cornmeal.
- Maintain a temperature around 75°F and humidity levels between 50-70%.
- Provide fresh vegetables like carrots or potatoes for moisture and nutrition.
- Regularly clean the container and remove dead worms to keep things hygienic.
With these steps, your colony will grow quickly, providing a steady supply of nutritious mealworms for your chickens. 🐛✨
Feeding Mealworms to Chickens

Harvesting Mealworms Safely
Harvesting mealworms is simple, but doing it safely ensures your chickens get the best nutrition. Use a sieve or sifter to separate the mealworms from their bedding and frass (worm waste). This keeps the worms clean and ready to feed. Leave some worms behind in the container to keep your colony growing.
If you’re not feeding them immediately, store the harvested mealworms in a refrigerator. The cold slows their metabolism, keeping them fresh for longer. Avoid freezing them, as this can damage their nutritional value. For extra safety, check the frass for any leftover worms before discarding it. You might find a few stragglers that can be returned to the colony.
Tip: Always wash your hands after handling mealworms to prevent spreading bacteria to your flock.
How Many Mealworms to Feed Chickens
Mealworms are a powerhouse of nutrition. They’re high in protein, fats, and fiber, which are essential for your chickens’ growth and health. However, moderation is key. Mealworms should make up no more than 10% of your chickens’ diet. Overfeeding can lead to obesity or nutritional imbalances.
For adult chickens, offer about 10-15 mealworms per bird, 2-3 times a week. This amount provides a protein boost without overloading their diet. For young chicks, reduce the portion to 5-7 mealworms per bird. Always ensure your chickens have access to fresh water, especially if you’re feeding them dried mealworms, which are harder to digest.
Note: Feeding mealworms encourages natural foraging behavior, which keeps your chickens mentally and physically active.
Storing Extra Mealworms for Future Use
Proper storage keeps your mealworms fresh and safe for your flock. Follow these steps to store them effectively:
- Place mealworms in a cool, dry area to prevent mold and mites.
- Use containers with proper ventilation to reduce condensation.
- Label the containers with the date and storage details for easy tracking.
- Keep the containers in a dark space to minimize stress on the worms.
- Regularly check for contamination, such as mold or waste buildup.
If you’re storing dried mealworms, ensure they’re in an airtight container to maintain freshness. Monitor the temperature and humidity levels to avoid spoilage. With these practices, you’ll always have a nutritious treat ready for your chickens.
Reminder: Mealworms are rich in essential vitamins and minerals, making them a valuable addition to your flock’s diet. Proper storage ensures they retain their nutritional benefits.
Growing mealworms for chickens is a simple way to boost your flock’s health while saving money. These tiny insects are packed with protein, fats, and essential nutrients that improve egg quality, muscle growth, and overall chicken health. Plus, they’re cost-effective, reducing feed expenses over time.
Starting your colony doesn’t take much. Begin with 500-1000 mealworms, keep them warm, and provide fresh vegetables for hydration. With proper care, you’ll have a sustainable, year-round supply of nutritious treats. Your chickens will thank you with healthier eggs and happier clucks. Why wait? Start your mealworm colony today!
FAQ
How long does it take to grow mealworms for chickens?
Mealworms take about 3 months to complete their life cycle. Warmer temperatures (75-80°F) speed up growth, so you’ll have a steady supply faster.
Can I feed dried mealworms to my chickens?
Yes, dried mealworms are a great option. They’re high in protein, fats, and fiber. Just ensure they don’t exceed 10% of your chickens’ diet.
What should I do if mold appears in the container?
Remove moldy bedding and food immediately. Replace it with fresh materials. Reduce moisture levels by using less watery vegetables like carrots instead of apples.


