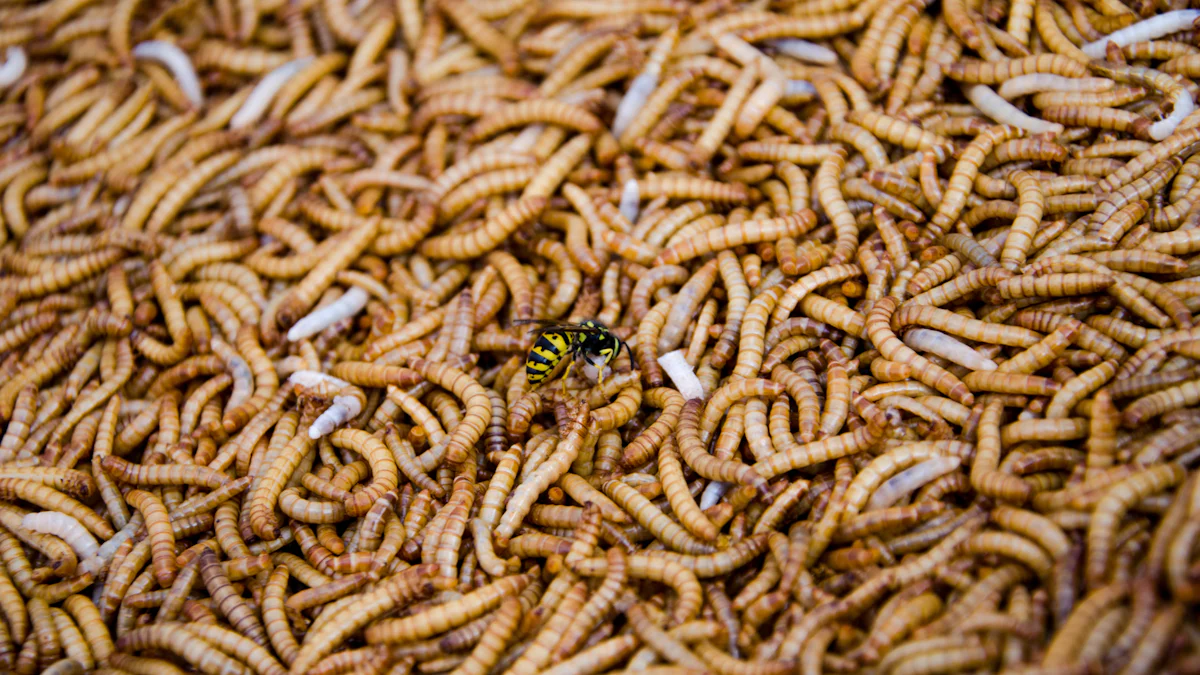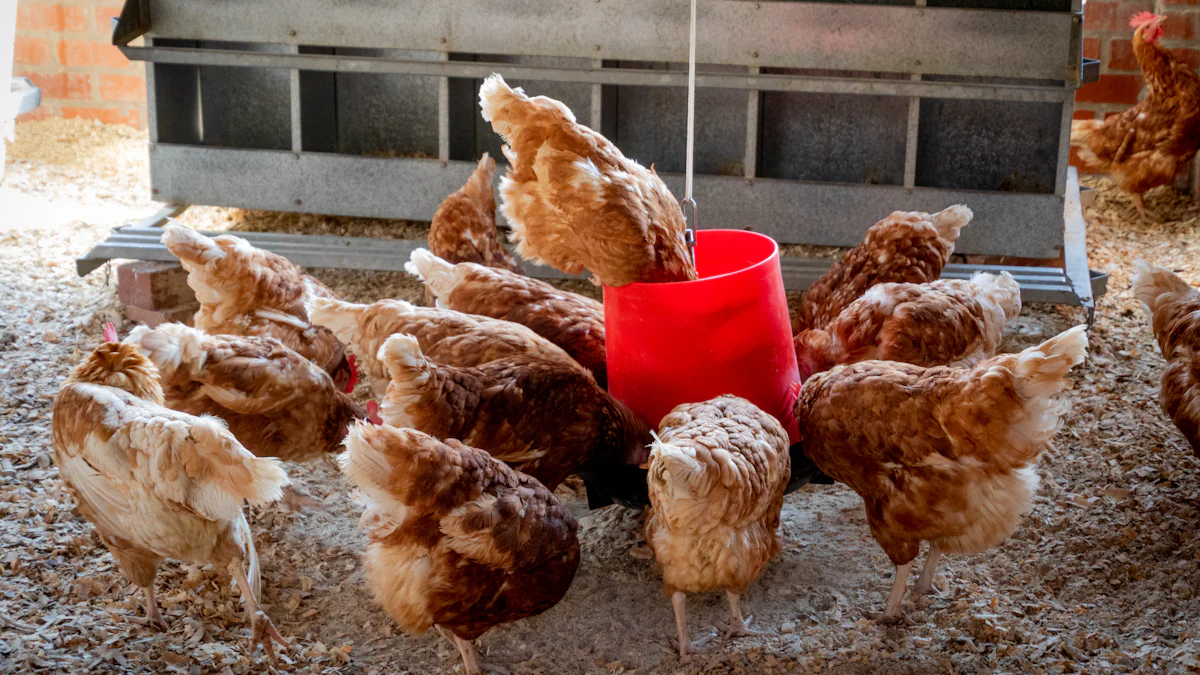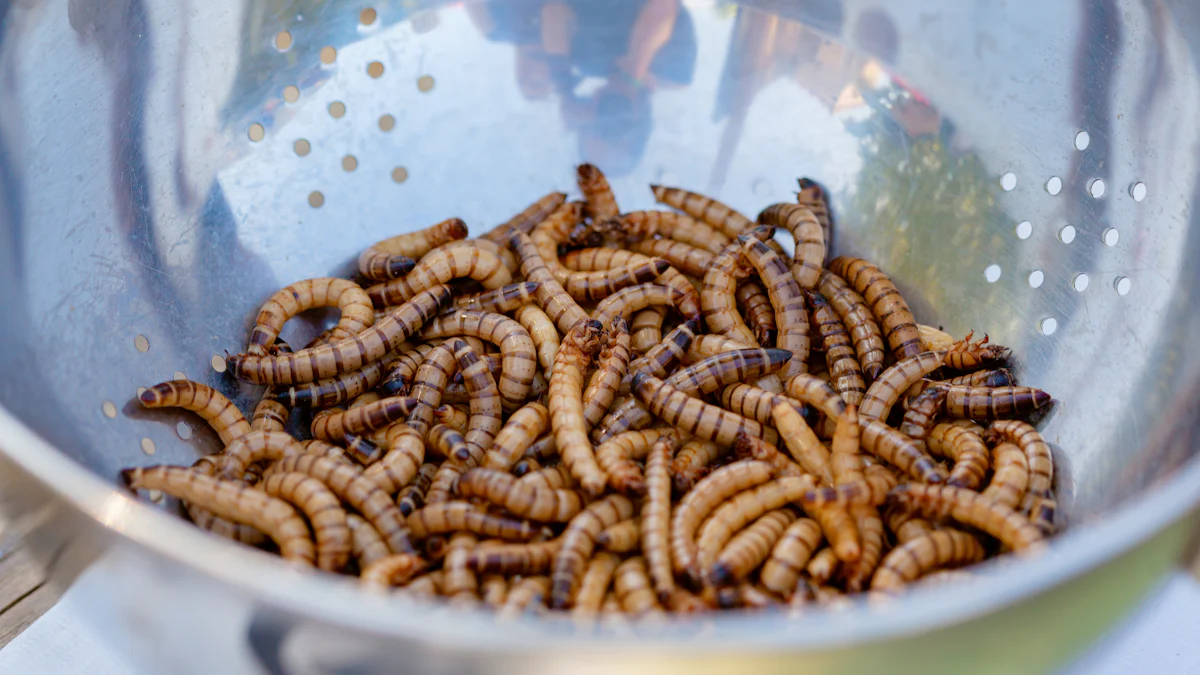
Growing mealworms for chickens offers a practical and economical solution for poultry enthusiasts. You can easily cultivate these nutritious insects at home, reducing feed costs significantly. Mealworms provide a sustainable protein source, enhancing your chickens’ diet while promoting eco-friendly practices. By raising your own mealworms, you gain control over their quality and ensure a continuous supply. This approach not only saves money but also contributes to a more self-sufficient and environmentally conscious farming method. Embrace this cost-effective strategy to benefit both your chickens and your wallet.
Key Takeaways
- Growing mealworms at home can significantly reduce feed costs for your chickens, providing a sustainable protein source.
- Start your mealworm farm with budget-friendly containers like plastic bins, ensuring they have proper ventilation and smooth sides to prevent escapes.
- Utilize kitchen scraps and inexpensive grains like wheat bran to feed your mealworms, recycling food waste while keeping costs low.
- Regular cleaning every two to three weeks is essential for maintaining a healthy mealworm colony and preventing mold and pests.
- Implement DIY solutions for temperature and humidity control to create an optimal environment for mealworm growth without incurring high expenses.
- Efficient harvesting techniques, such as using a sieve, can streamline the process and help maintain a steady supply of mealworms for your chickens.
- Address common issues like pest infestations and mold growth promptly to ensure a thriving mealworm colony and a reliable feed source.
Setting Up Your Mealworm Farm

Creating a mealworm farm at home is a straightforward process. You can start with minimal investment and space. This section will guide you through selecting the right containers and sourcing starter mealworms.
Choosing the Right Containers
Selecting appropriate containers is crucial for growing mealworms for chickens. You need to consider both cost and functionality.
Budget-friendly container options
You don’t have to spend much on containers. Simple plastic bins or drawers work well. You can find these at local stores or online at affordable prices. Ensure the containers have smooth sides to prevent mealworms from escaping. Drill small holes in the lid for ventilation, but keep them small enough to stop pests from entering.
Optimal container size and material
The size of your container depends on the number of mealworms you plan to raise. A container that holds about 10 gallons is usually sufficient for a small colony. Choose containers made of durable plastic. This material is easy to clean and maintain. Avoid using metal containers as they can rust and affect the mealworms’ environment.
Sourcing Starter Mealworms
Once you have your containers ready, the next step is to get your starter mealworms. You can find them from various sources.
Affordable sources for starter mealworms
Local pet stores often sell mealworms at reasonable prices. You can also check online marketplaces for bulk deals. Some farmers might sell starter colonies at a lower cost. Look for sellers with good reviews to ensure you get healthy mealworms.
Tips for buying in bulk
Buying in bulk can save you money in the long run. When purchasing large quantities, ensure you have enough space and resources to care for them. Check the health of the mealworms before buying. They should be active and free from any signs of disease. Bulk buying not only reduces costs but also ensures a steady supply for your chickens.
By setting up your mealworm farm with the right containers and sourcing methods, you lay a strong foundation for growing mealworms for chickens. This approach will help you maintain a sustainable and cost-effective feed source.
Feeding Mealworms on a Budget
Feeding mealworms efficiently can significantly reduce costs. You can utilize kitchen scraps and inexpensive grains to nourish your mealworm colony without breaking the bank.
Utilizing Kitchen Scraps
Kitchen scraps offer a cost-effective way to feed mealworms. You can recycle food waste while providing essential nutrients to your mealworms.
Types of scraps suitable for mealworms
Mealworms thrive on a variety of kitchen scraps. You can use vegetable peels, such as carrot and potato skins. Fruit scraps like apple cores and banana peels also work well. Avoid citrus fruits and onions, as they can harm mealworms. These scraps provide moisture and nutrients, supporting healthy growth.
How to prepare scraps for feeding
Before feeding scraps to mealworms, ensure they are clean and free from mold. Chop larger pieces into smaller bits to make them easier for mealworms to consume. Spread the scraps evenly across the substrate to prevent overcrowding. Regularly check and remove any uneaten scraps to maintain a clean environment.
Inexpensive Grain Options
Grains serve as a staple diet for mealworms. You can find affordable options that meet their nutritional needs.
Best grains for mealworm nutrition
Wheat bran is an excellent choice for growing mealworms for chickens. It is rich in nutrients and widely available. Oats and cornmeal also provide good nutrition. These grains form the base of the mealworm diet, ensuring they grow strong and healthy.
Where to buy grains cheaply
You can purchase grains at local farm stores or bulk food suppliers. Buying in bulk often reduces costs. Check online marketplaces for deals on large quantities. Ensure the grains are fresh and free from contaminants. This approach keeps your mealworm farm sustainable and cost-effective.
By using kitchen scraps and inexpensive grains, you can feed your mealworms without spending much. This strategy supports growing mealworms for chickens in a budget-friendly manner, ensuring a steady supply of nutritious feed.
Maintaining the Mealworm Colony
Proper maintenance of your mealworm colony ensures a healthy and productive environment. By adopting cost-effective cleaning techniques and managing temperature and humidity, you can keep your colony thriving without incurring high expenses.
Cost-effective Cleaning Techniques
Regular cleaning is essential for the health of your mealworms. You can achieve this without spending much on expensive products.
How to clean without expensive products
Use simple tools like a sieve or strainer to separate mealworms from their frass (waste). This method helps you clean the substrate efficiently. You can also use a soft brush to remove debris from the container’s sides. For disinfecting, a mild vinegar solution works well. Mix equal parts of water and vinegar, then wipe down the container. This natural solution keeps the environment clean and safe for mealworms.
Frequency of cleaning for optimal health
Clean the mealworm colony every two to three weeks. This frequency prevents the buildup of waste and reduces the risk of mold and pests. Regular cleaning also ensures that mealworms have fresh substrate, promoting their growth and health. Monitor the colony’s condition and adjust the cleaning schedule if necessary.
Temperature and Humidity Control
Maintaining the right temperature and humidity is crucial for growing mealworms for chickens. You can achieve this with low-cost methods and DIY solutions.
Low-cost methods to maintain ideal conditions
Keep the mealworm colony in a warm, dry place. A temperature range of 70-80°F (21-27°C) is ideal. Use a simple thermometer to monitor the temperature. For humidity, ensure proper ventilation by drilling small holes in the container lid. This setup helps maintain the right balance without additional costs.
DIY solutions for temperature regulation
If the temperature drops, you can use a heating pad set on low beneath the container. Ensure it covers only part of the base, allowing mealworms to move to a cooler area if needed. In warmer months, place the container in a shaded area to prevent overheating. These DIY solutions help you regulate temperature effectively and economically.
By implementing these cost-effective cleaning and environmental control techniques, you ensure a healthy and productive mealworm colony. This approach supports your goal of growing mealworms for chickens in a sustainable and budget-friendly manner.
Harvesting Mealworms Efficiently

Efficient harvesting of mealworms ensures you maximize your efforts and maintain a steady supply for your chickens. By using the right tools and techniques, you can streamline the process and store your harvest effectively.
Time-saving Harvesting Techniques
Harvesting mealworms doesn’t have to be time-consuming. With the right approach, you can quickly gather your mealworms and prepare them for storage.
Tools and methods for quick harvesting
Use a sieve or strainer to separate mealworms from their substrate. This tool allows you to sift through the bedding and collect mealworms efficiently. Shake the sieve gently to let the frass fall through while retaining the mealworms. A small brush can help you gather any remaining mealworms stuck to the container’s sides. For larger operations, consider using a vibrating sieve to speed up the process.
How to store harvested mealworms
After harvesting, store mealworms in a cool, dry place. Use breathable containers to prevent moisture buildup. You can refrigerate mealworms to slow their metabolism, keeping them fresh for longer periods. Ensure the storage container has proper ventilation to avoid suffocation. Label the containers with the date of harvest to track freshness.
Maximizing Yield
To ensure a continuous supply of mealworms, focus on maximizing your yield. Implement strategies that promote growth and prevent common mistakes.
Tips for ensuring a continuous supply
Maintain a consistent feeding schedule to support mealworm growth. Rotate your mealworm colonies by setting up multiple containers. This rotation allows you to harvest from one container while others continue to grow. Monitor the colony’s health regularly and remove any dead mealworms to prevent contamination. By keeping a close eye on your colony, you can ensure a steady supply of mealworms for your chickens.
How to avoid common harvesting mistakes
Avoid overcrowding your mealworm containers. Overcrowding can lead to stress and reduced growth rates. Ensure you provide enough space for mealworms to thrive. Also, refrain from harvesting too early. Allow mealworms to reach an optimal size before collecting them. This practice ensures you get the most out of your colony. Lastly, keep the substrate clean to prevent mold and pests, which can harm your mealworms.
By following these harvesting techniques and maximizing yield strategies, you can efficiently manage your mealworm farm. This approach supports growing mealworms for chickens, providing a reliable and cost-effective feed source.
Troubleshooting Common Issues
When growing mealworms, you might encounter some challenges. Addressing these issues promptly ensures a healthy and productive colony. This section will guide you through dealing with pest infestations and preventing mold growth.
Dealing with Pest Infestations
Pests can disrupt your mealworm farm. Identifying and preventing them is crucial for maintaining a healthy environment.
Identifying and preventing pests
You may notice small insects like mites or beetles in your mealworm containers. These pests can harm your mealworms. Regularly inspect your colony for any unusual activity. Keep the containers clean and dry to deter pests. Ensure proper ventilation by drilling small holes in the container lids. This setup helps prevent pest infestations.
Cost-effective pest control solutions
If you find pests, act quickly. Remove affected mealworms and clean the container thoroughly. Use a mild vinegar solution to disinfect the area. Mix equal parts of water and vinegar, then wipe down the surfaces. This natural method helps eliminate pests without harming your mealworms. Consider using diatomaceous earth as a barrier around the containers. It acts as a natural pest deterrent.
Preventing Mold Growth
Mold can pose a significant threat to your mealworm colony. Understanding its causes and remedies is essential for maintaining a healthy environment.
Causes of mold and how to avoid it
Excess moisture often leads to mold growth. Overfeeding with wet scraps can increase humidity levels. Ensure proper ventilation in your containers to reduce moisture. Avoid overcrowding, as it can trap humidity. Regularly check the substrate and remove any damp or moldy material. This practice helps maintain a dry and mold-free environment.
Remedies for mold issues
If mold appears, take immediate action. Remove the affected substrate and mealworms. Clean the container with a vinegar solution to kill mold spores. Allow the container to dry completely before adding fresh substrate. Consider using a fan to improve air circulation around the containers. This method helps keep the environment dry and mold-free.
By addressing pest infestations and mold growth, you ensure a thriving mealworm colony. These troubleshooting tips support your goal of growing mealworms for chickens, providing a reliable and cost-effective feed source.
By growing mealworms for chickens, you unlock a world of cost-saving opportunities. You can reduce feed expenses and enhance your chickens’ diet with this sustainable protein source. Starting your own mealworm farm is simple and rewarding. You gain control over the quality and supply of your chicken feed. Embrace this journey toward self-sufficiency. It benefits both your wallet and the environment. Take the first step today and enjoy the long-term advantages of raising mealworms at home.
FAQ
What are the benefits of growing mealworms for chickens?
Raising mealworms provides a sustainable protein source for your chickens. It reduces feed costs and enhances their diet. You gain control over the quality of the feed, ensuring a healthier option for your poultry.
How much space do I need to start a mealworm farm?
You can start a mealworm farm in a small area. A few plastic bins or drawers suffice. Ensure you have enough space to accommodate the containers and maintain proper ventilation.
What should I feed my mealworms?
Mealworms thrive on wheat bran, oats, and cornmeal. You can also use kitchen scraps like vegetable peels and fruit cores. Avoid citrus fruits and onions, as they can harm mealworms.
How often should I clean the mealworm containers?
Clean the containers every two to three weeks. This frequency prevents waste buildup and reduces mold and pest risks. Regular cleaning ensures a healthy environment for your mealworms.
Can I use any container for raising mealworms?
Choose containers with smooth sides to prevent escapes. Plastic bins or drawers work well. Avoid metal containers, as they can rust and affect the mealworms’ habitat.
How do I prevent mold in my mealworm colony?
Ensure proper ventilation and avoid overfeeding with wet scraps. Keep the substrate dry and remove any damp material promptly. Regular checks help maintain a mold-free environment.
What should I do if I find pests in my mealworm farm?
Act quickly to remove affected mealworms and clean the container. Use a mild vinegar solution to disinfect. Consider using diatomaceous earth as a natural pest deterrent around the containers.
How can I maximize the yield of my mealworm farm?
Maintain a consistent feeding schedule and rotate your colonies. Monitor the health of your mealworms regularly. Provide enough space to prevent overcrowding and ensure optimal growth.
Is it necessary to buy starter mealworms in bulk?
Buying in bulk can save money and ensure a steady supply. Ensure you have enough space and resources to care for them. Check the health of the mealworms before purchasing.
How do I store harvested mealworms?
Store harvested mealworms in a cool, dry place. Use breathable containers to prevent moisture buildup. Refrigerate them to slow metabolism and keep them fresh longer. Label containers with the harvest date to track freshness.


